

how to apply your press ons and make them LAST
-

Step 1: Prep
Open your press on nails kit and start sizing your fingers to the press ons!This also makes things easier and quicker when you apply them.
-

Step 2: Buff the nail
Using the small nail file included in your press on kit, buff the surface shine out of your nails. You want your nails to be nice and matte all the way around so the glue or tape has some texture to latch on to.
-

Step 3: Cleanse the nail
Take the mini alcohol wipe in your press on nails kit and thoroughly wipe your nails with it to cleanse and clean away any remaining oils and dust from filing.
-

Step 4: Apply Glue
Open your glue and apply glue to one nail at a time. Don’t try to dab the glue on all the nails at once (you’ll risk drying it). Apply the glue on the middle of the nail, leaving a small gap around the sides, and the cuticle. This helps prevent the glue from flooding out of the sides !
-

Step 5: Roll on
Apply the press on from cuticle first at about a 45 degree angle, then roll it down through the nail keeping a steady pressure the whole time to not risk moving your nail. Then keep the nail pressed for about 10-15 seconds while you wait for the glue to dry.


HOT TIPS From a professional nail tech to get the longest wear possible in your press ons

If your nails are between two sizes, make sure you size up instead of down. When you size up you can file the sides to fit your nails perfectly, but if you size down the nail might be too tight and be prone to more pop offs!

The more glue you use, the more permanent they will be! But be careful with applying too much around the sidewalls and the cuticles because you don’t want glue flooding out. Try applying the glue more towards the middle of your nail as well as the middle of the tip and leaving a tiny gap around the edges for the glue to have room to fill in to instead of flood.

Long Lasting Press Ons Start Here
Shop Nail Thoughts press-ons and learn pro application tips from a nail tech with 10 years of experience.

 Paola Ponce Nails x Nail Thoughts Daydreamer Press On Nails Kit
Paola Ponce Nails x Nail Thoughts Daydreamer Press On Nails Kit
Regular price $19.99Unit price per
 Katie Dutra x Nail Thoughts Floral French Press on nails
Katie Dutra x Nail Thoughts Floral French Press on nails
Regular price $19.99Unit price per
 Peaches and Cream Press On Nails
Peaches and Cream Press On Nails
Regular priceUnit price per$19.99Sale price $9.99


Free Press-On "Survival" Guide
Want your press-ons to last 2–3 weeks instead of a few days?
Get our free nail technician's guide with:
- Prep mistakes that cause lifting
- How to make glue last longer
- Application secrets most people miss
- Removal tips to protect natural nails
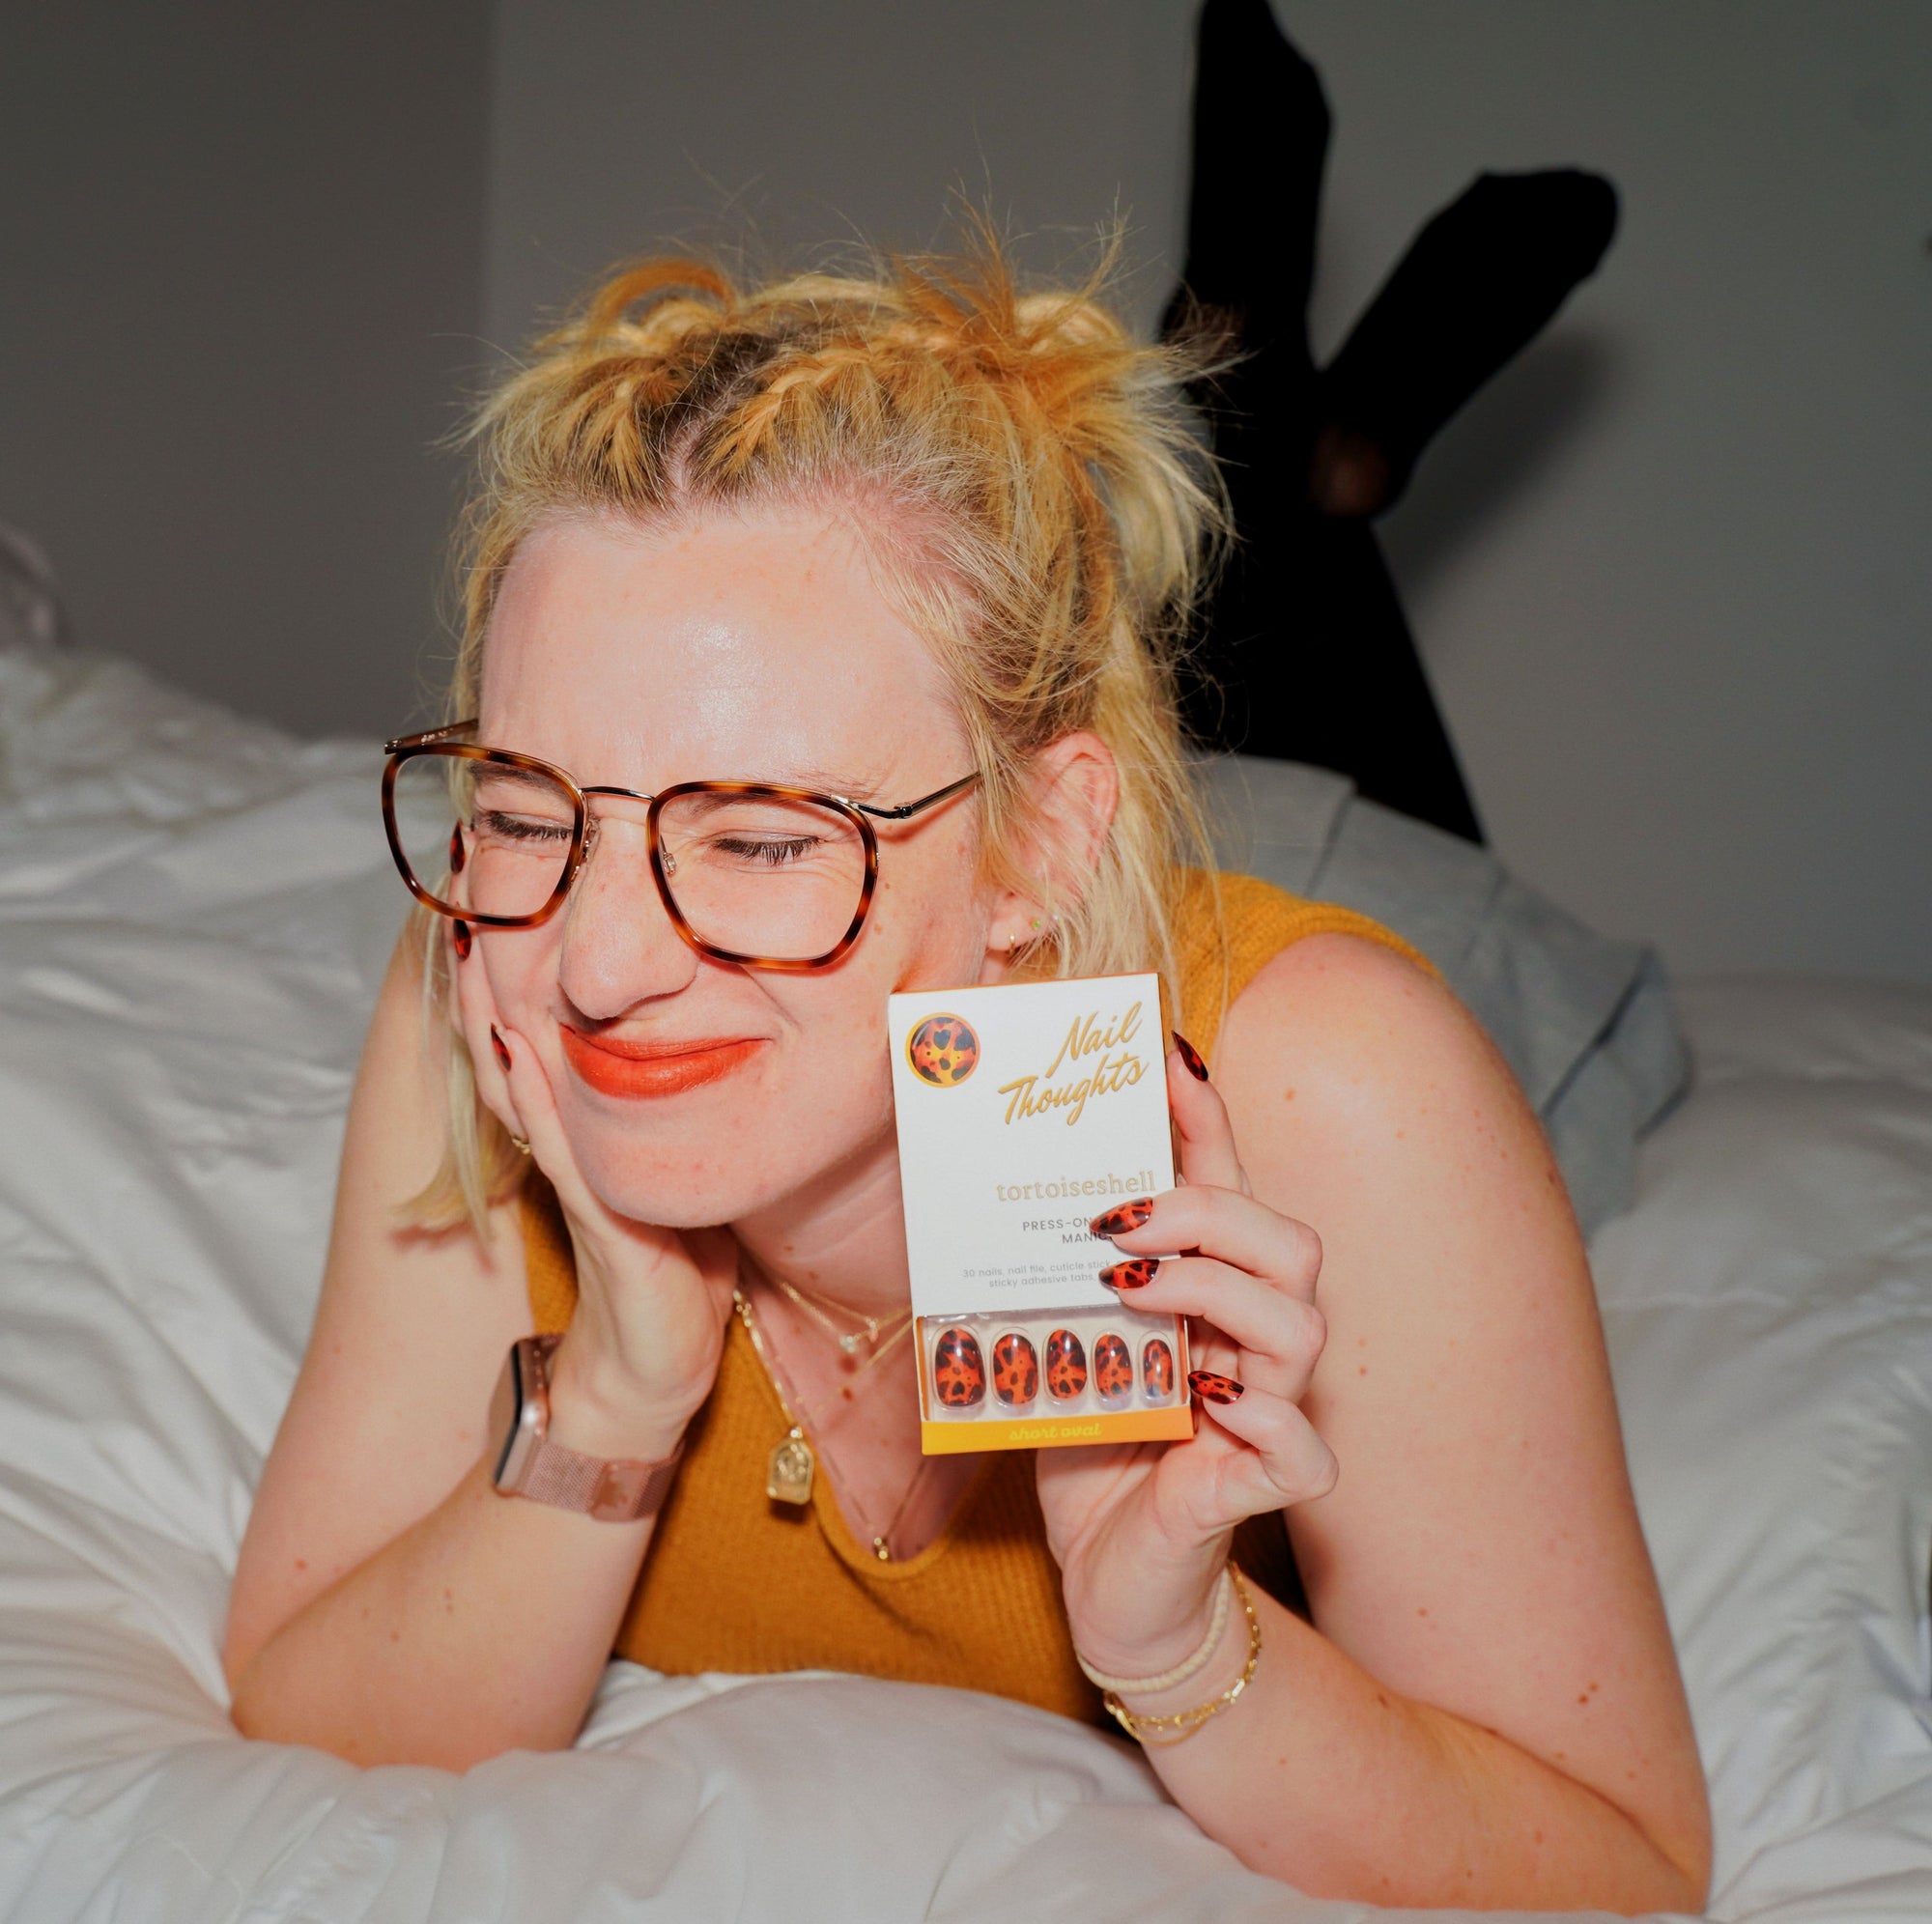
Hi, I'm Katie Masters!
I started as a professional nail tech/nail artist and had my own private salon for 8 years. I have now been doing nail professionally for over a decade so I know the in’s and out’s of everything nails. During the 2020 shut downs, I was locked out of my salon for almost a year but needed to make money. I started hand painting press ons for my clients and people from all over the country that followed me and loved fun nails.
I went viral on tik tok for a video explaining my story and for the next 5 months I would hand paint around 60 sets of press ons over the course of a month, just to sell out in under 4 mins after launching. Every. Single. Launch. I didn’t have the time to hand paint all of those nails anymore after getting back to my clients, so fast forward a couple years, i looked into manufacturing and got my classic designs mass produced, and all the sudden I started my own press on line!
Press-On Nail Tips & FAQs
Press on tips and tricks to make them last longer
Press ons (when they are glued on) should last 1-2 weeks. But keep in mind, this range all depends on the prep work of the user! And of course daily life….and if you are used to having long nails versus short nails. If you are used to short nails and you go from shorties to all in on long press ons, you won’t have that spacial awareness yet so you WILL be bonking a lot and causing a lot of pop offs.But if you go with short nail and work your way into the longer lengths, then you’ll do great! Shorter press ons in general will last a little longer than long ones because the shorter the free edge of the nail, the less amount of jamming into things will happen. But don’t let that scare you away from long nails !
Fun fact! These nails on Lady Gaga are press ons! I hand painted these nail tips and glued them on for a super quick process. They lasted 2 weeks with just glue!
Press ons when they are TAPED on, should last about 1-3 days depending on the prep work! Taped press ons are super temporary and great for weekend wear. See my other tips and tricks on how to make them last longer (and what you could be doing wrong).
Not necessarily. The only reason I recommend it is because sometimes the skin around your cuticles can be a little sticky to the nail plate which leaves an uneven and less “rounded” cuticle area. And when you apply your press ons, you don’t want some of the press on to be glued to your skin, you want it all glued on your nails. When the nail is glued to your
skin, it will pop off and lift much quicker than it will when it’s on your nail. So by pushing the cuticle area back and making that space for the press on, you’re making your application a little easier and you wear a little longer.
Yes and no. I personally recommend it because the less surface area that you have for the nail glue to adhere to, the more likely the glue will fully cover the nail leaving less room for bubbles or air pockets (which of course makes the press ons last longer). Also it makes your life easier when your nails are cut down because you won’t have to worry later about filing you natural nails that are peaking out from under the press on (ruining the illusion that the press ons are your natural nail)!
Don’t be sad! You probably just have really long and gorgeous nail beds! Trust me, in the nail world, you are envied. If you have the long nail bed blessing, then make sure and find press ons nails that are long in length to cover them fully! Short press ons (which are a lot of the majority out there) tend to be more for smaller/shorter nail beds. Which is probably why no matter how short your nails are underneath, yours still peak out from under there.
If you have really curved nail beds and you find that press ons always have a little gap underneath between the nail tip and your nail, almost like the nail tip rocks like a see saw back and forth when you try to glue it flat, then unfortunately, I wouldn’t recommend press ons for you. Having a small tight gap between the nail and the press on can cause water to get trapped in there and build up bacteria on the nails, and you don’t want that! I recommend gel manicures for you as they will be more custom to your nails!
Buffing your nails before applying press ons is a totally normal thing to do and it’s even the same process if you are
applying a gel manicure! You don’t need to buff your nails hard at all (in fact, don’t go too hard). All you need to do is just buff the shine out of the surface of your nails which takes a very light touch with a nail file or buffer to do that. Usually a mini nail file is included in your press on nails kit. Glue needs something to latch on to and “grip” to, so to speak. Think of velcro as an example, it NEEDS something to grip on to and does not properly grip to anything smooth. So by buffing your nails and “mattifying” them , you are creating just a tiny bit of texture for the glue to properly adhere to. This is the same exact process that nail techs
use to apply gel and other enhancements onto nails too! It’s all an important part of the prep work to make everything last.
No, not in the long run. You are essentially buffing the surface shine off of the nail plate. Your nail plate (aka fingernail) has many keratin layers jam packed together to make your nail (think 30~50 keratin layers depending on the person). So buffing the surface shine off the nail is just a light feather touch to mattify it. A buff should not HURT, should not BURN, and should not leave ridges.
Doug Schoon, chemist, and author of “Nail Structure and
Product Chemistry,” says:
“Today’s advanced products are designed specifically for improved keratin adhesion; so heavy filing is no longer needed or desired! Only the ‘shine’ needs to be filed away. Oils saturate the upper-most surface of the nail and cause the surface to reflect ‘light’ or ‘shine’. After 24 hours, clients shouldn’t even notice that their nails are thinner after artificial nail products are removed. If the plates are thinner, it is due to over-filing”.
If you are still a little nervous about buffing your nails, totally fine! My other option for you is to get some acetone or 90% or higher rubbing alcohol (you want 90% because the less water in it the better, you’re not trying to rehydrate your nails), and wipe each nail plate down with it. Those are both good at dehydrating and cleansing the nail plate and giving a temporary “matte” surface without the buffing! This is actually the same process I used for Michelle Pfeiffer in the show Margo’s Got Money Troubles. I used the double sided sticky tapes for her press ons, and cleansed the nail beforehand instead of buffing, and those nails lasted all day with no issues and very minimal pop offs even with just the tapes!
It all depends on what your vibe is. If you are wanting these nails to last 2 weeks and wear like a gel manicure or extensions would, then glue! If you are looking for a more temporary wear (think like a weekend, or an evening, then the double sided sticky tapes are for you! Double sided sticky tapes are also for people looking to reuse their nails and wear them again! Glued on nails are a little harder to reuse unless you wait very patiently while each one pops off on it’s own.
If you glued your press ons on, you are going to remove them like you would exactly a gel manicure. Which means you first file the surface of the nail to remove all the shine, and even go more heavy handed with it to thin out the press on as much as you can. The reason why you
want to thin out the press on is so when you soak your nails in acetone, the acetone will penetrate the press on easier and start melting the tip and the glue away in just 10 mins. Then when the nail tip is melting just lightly scrape it away with the wood stick in your press on kit.
If you are removing the double sided sticky tapes, use nail oil! Or any sort of oil for that matter. Get that oil in between your nail and the tapes and use the wood stick in your press on kit to help pop off the tip!
These are designed by an actual nail artist (me) and someone that actively works in the nail world. And each collaboration supports actual working nail artists featuring their most popular designs. A lot of the time, big box companies steal our work and benefit off of it with no credit or compensation to us. I'm changing that by giving nail artists their art back and letting people support the nail world while buying press ons.