FAQ

Are you accepting new clients?
No I am not currently accepting new clients.

For my shirts, yes! For my press ons, not yet! Unfortunately, I think there are some restrictions about sending nail glue internationally that I need to do research on how to handle!

No we do not at this time.

Well press ons are a more temporary and quicker way to get nail art on your own time! They are very different from regular nails, the key word is temporary! But also reusable which is incredible. I will send a kit of 22 nails of all sizes to pick from as well as a kit  and instructions to put them on. You can wear them for as long as you want, as little as you want and if one pops up, you can just glue them right back on! Easy peasy. It's all about convenience with these.

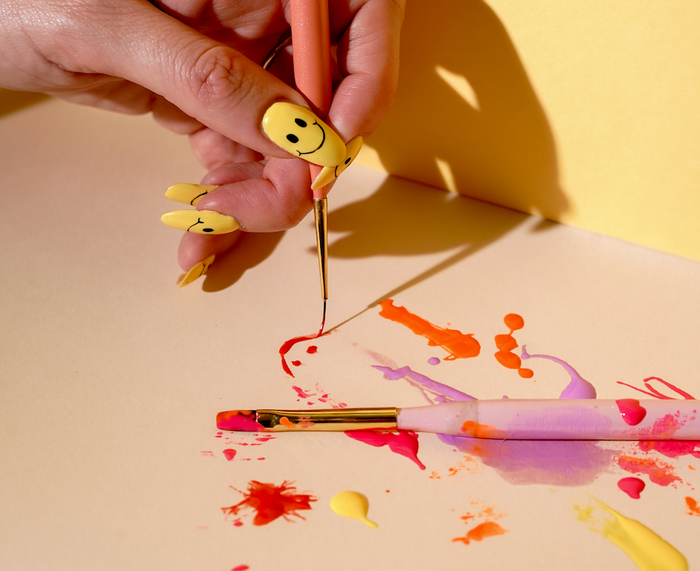
Yes! I hand paint every single one. You'll see all my little brush strokes, lines, smooshes, etc.

Lorem Ipsum is simply dummy text of the printing and typesetting industry. Lorem Ipsum has been the industry's standard dummy text ever since the 1500s, when an unknown printer took a galley of type and scrambled it to make a type specimen book. It has survived not only five centuries, but also the leap into electronic typesetting, remaining essentially unchanged. It was popularised in the 1960s with the release of Letraset sheets containing Lorem Ipsum passages, and more recently with desktop publishing software like Aldus PageMaker including versions of Lorem Ipsum.

You will receive:

- Instructions

- 22 press on nails in all different sizes to fit your fingers and to choose from

- Nail glue to apply them on to your nails, also a sheet of 12 double sided stickies for more temporary weekend wear

- A nail file to buff the surface of your natural nail and to do any shaping adjustments, a buffer, an alcohol wipe to cleanse the nail

ADDED BONUS: These nails are shipped in a compostable mailer, wrapped in biodegradable tissue paper, and placed on top of recycled paper of all kinds! Trying to do my best with putting less waste in the world. Because in reality, we don’t need a small amount of people doing zero waste perfectly, we need millions of people doing it imperfectly.


GLUE: 

Step 1: Size your nails to the tips and set them aside! If some are slightly bigger than your nails, feel free to use the file to shape the sides/cuticle area down!

Step 2: Get the nails prepped! If you have some length on your nails, cut them down. Use the white nail file to buff the surface of your nail (lightly). The goal here is to make sure there is no shine left on the top of the nails. Why? Because the glue is going to act like  velcro! If the nail is smooth and shiny, the glued nails won’t stick to the nail as well. So get that shine off! Take the orange buffer after to gently buff any areas over that the file didn’t get. Once that is done, cleanse your nails with the alcohol wipe! Get all of that dust off.

Step 3: Let’s get the nails on! The key is to do one nail at a time! Get the nail ready to put on and the glue open. Use the tip of the glue tube and apply a  medium sized blob of glue in the middle of your nail. Then quickly put a blob of glue on the inside of the nail tip you are about to put on. Be careful, the glue is runny! Once the glue is on, take the nail and press it down at a 45 degree angle at the cuticle first then press down through to the whole nail. SQUEEZE! Keep squeezing your finger and the nail together for about 10 seconds. Then boom! Let there be nails! Repeat on the rest of the fingers. Once complete, feel free to file and shape any excess glue off or to just play around with shape! Good news is, if any nails pop off, you can just glue them right back on! The more glue, the more permanent!

STICKERS:

Follow steps 1 and 2 above.

Then pick the appropriate size sticker and put on your nail right at the cuticle. Press the nail on top and voila!

No they are not. Stickers are one time use. The glue tube provided in your kit should last you a few rounds of sets though!

Right here! These are the same stickers that I include in your kits. This is a whole pack of 10 sheets of stickers for $5! 

With your glue, it could be between 5-7 days, could be up to two weeks. Press ons are made to be temporary! I have also had some people have them last about a month! I don't like saying an exact amount of days they should last because truly it all depends on how well and how thorough you are following the press-on instructions supplied! No nails are created equally, so the more exact you can get with your sizes and prep work, the better the results!

With your tape stickers, could be up to 4 days! Think of the stickers as more of a long weekend wear! The stickers are more temporary than the glue.

ALSO SEE NEXT QUESTION. *You should take them off around the 2 week mark either way just so bacteria doesn't get between the nail and the tip!

Happens to the best of us!

1.  Make sure you are being as thorough as you can with your prep work.

2.  If you are in between sizes and you can't decide which nail to choose, always choose the larger one and file to adjust! If you choose the smaller one, the fit will be too tight against your fingers and pull at the nail/glue more leading them to pop right off from the pressure!

3. These nails do run on the longer side for some people, so naturally there will be some getting used to with the length. All of the daily bumping and tapping of the nails will eventually wear the glue adhesion down. So depending on how you live your daily life can really affect the wear!

Yes you can! I recommend starting with the nail file if you are doing small adjustments, but if you are trying to shorten them a significant amount you can use the nail clipper, but only cut tiny amounts at a time. Remember these are all hand painted and you want to be careful with keep the gel in tact and not lifting! See these pictures on ways to use your clippers. 

All nails are final sale! If something goes wrong or gets damaged in transit, contact me!

Both! But I recommend if you have larger nail beds, to order the almond shaped size because almond tends to run a bit wider. And if you have smaller nail beds, go for the oval shaped size as those run a little thinner!

Yes! Best news ever! You can either wait for them to come off on their own (I personally think this is the easiest way), or soak your hands in warm soapy water to loosen the tips and wiggle them off! The water soaking could take up to 40 minutes to really loosen, and you will want to use the wood cuticle stick supplied in your kit to help get the nail separated from the tip. Then once they are off, save them! When you are ready to use them again just glue them back on! If you have a little glue build up underneath, take your file or buffer and gently buff it away!

You can either do the soaking in warm water method as mentioned above in order to reuse them, or if you are not planning on reusing them, cut the nails down and soak them in acetone. Start by buffing the shine out of the surface of your nail design, and then once it's all roughed up, the acetone will penetrate much quicker. The glue and nails will melt when exposed to acetone.

Yes! I have had multiple people with clubbed thumbs purchase these nails and said the largest size fit great! I recommend if you are still unsure they will fit yours, getting the almond shaped sets. Almond tends to run a little wider than the oval so it leaves even more space for them to fit you!

As many as you would like! Just make sure and use the buffer and/or file I supplied you in your kit and buff away the excess glue build up on the inside of the nails before you reuse them! Makes things easier.

Warm soapy water works great! Feel free to use rubbing alcohol as well to wipe down the surface of the nail. That helps get rid of excess oils and helps make the nails shiny again!