
· By katie masters
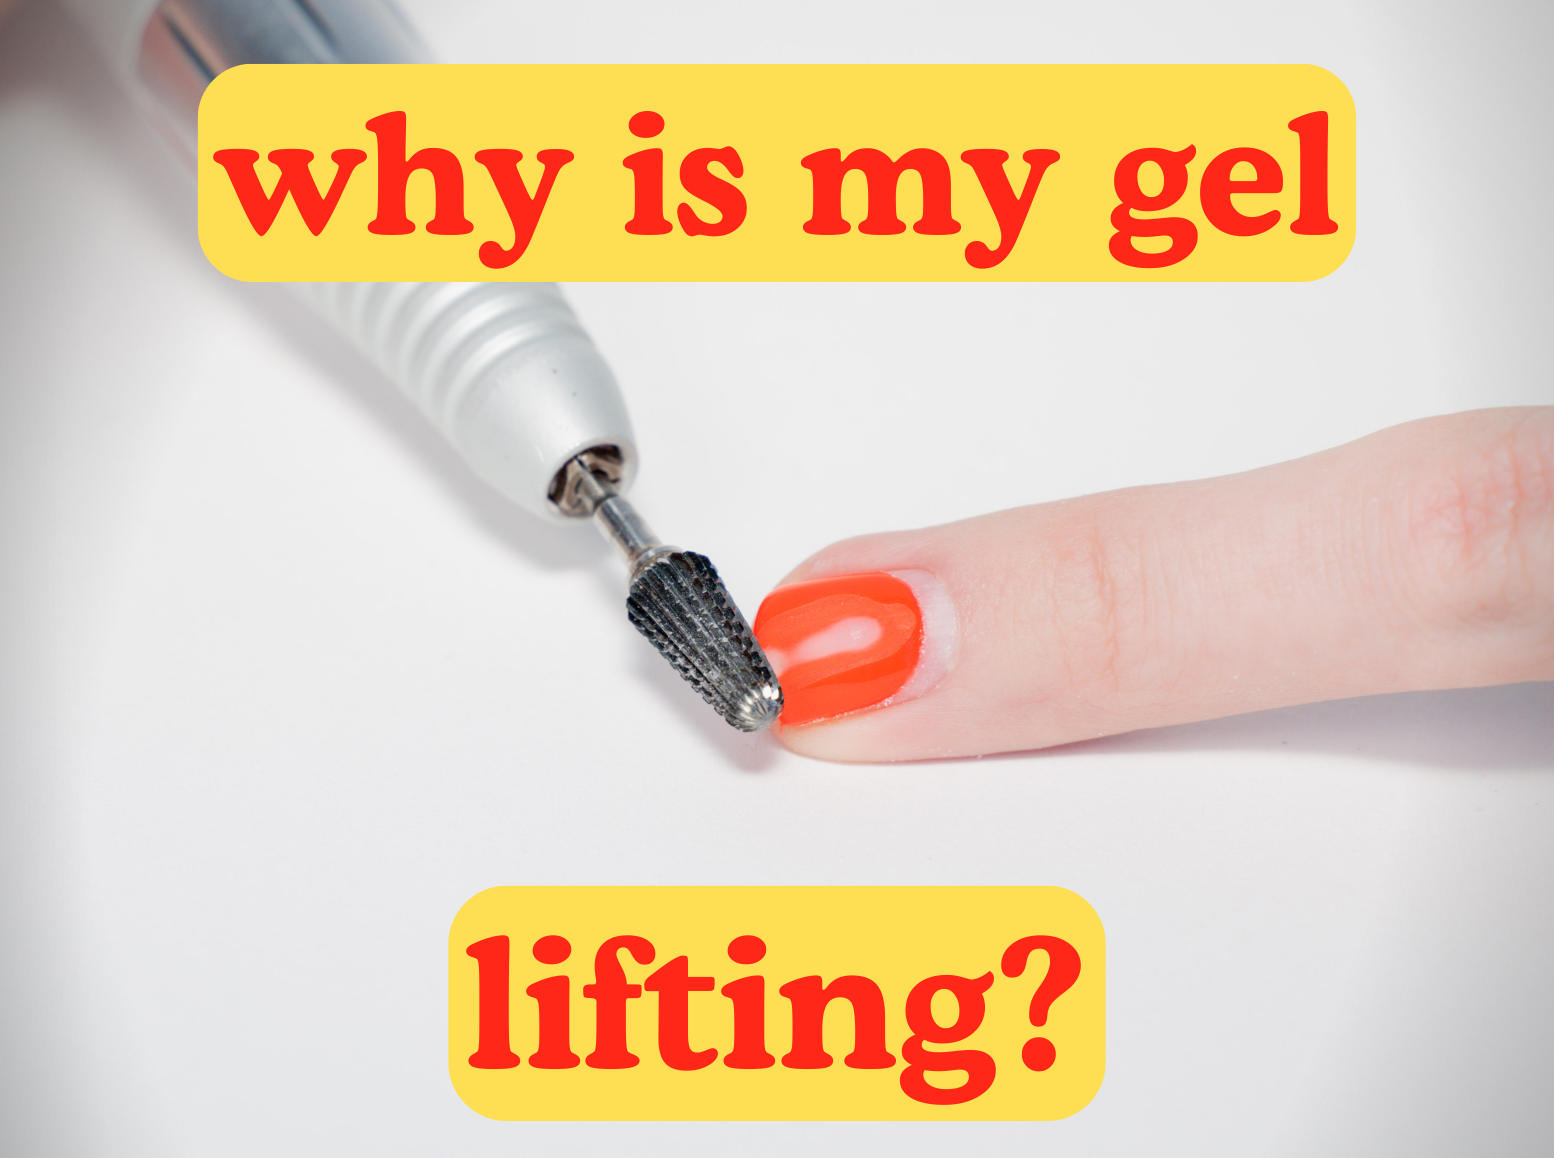
3 IMPORTANT reasons your gel is lifting
Affiliate links are present in this blog post.
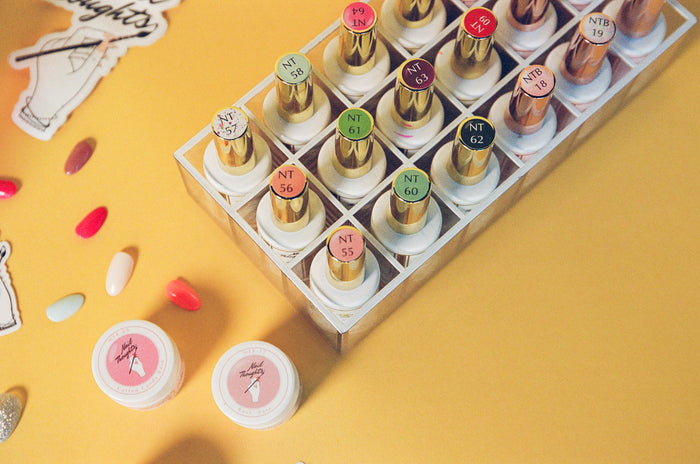
My name is Katie masters also known as nail thoughts and I am a professional nail tech with a gel line in collaboration with the gel brand kokoist ! And one of the top questions I receive when I teach nail classes or attend nail expos are “why are my gel nails lifting”? So I'm here to make a quick little guide on the top 3 reasons your gel could be lifting on yours or your clients nails!

-
Improper prep!
This is usually the main culprit for gel lifting! Not getting rid of the cuticles (dead skin growing on your nails) as well as not getting rid of invisible oils can really mess with the adhesion of your gel! Cuticle is dead skin that actually grows ON your nail plate and can be invisible, making you think your nail plate is clean when it’s not. And if gel cures on top of that , it WILL lift in the first few days in that cuticle area.The best way to get rid of that dead skin is with a cuticle bit and if you want some of my nail drill bit recommendations, my best drill bits for gel removal and cuticle prep blog post is for you.
Another TOP TIP of prep work that i want to add to this is before you do any cuticle work or even gel removal, CLEANSE YOUR NAIL PLATE. CLEANSE THE GROW OUT OF THE NAILS before you even start your gel removal! 90% or higher isopropyl alcohol works just fine for this step!

Sorry for yelling. But it changed my nail prep for the better and i want you to experience this too! There are so many invisible oils on our nails from skincare, to natural oil, to oil from touching our hair, etc etc. that if we go straight in with the cuticle bit without cleansing, we are just rubbing and buffing all of that oil IN to our nail plates and spreading it all over! Want to watch what I mean? Come watch how I prep nails before a gel manicure. Here’s a video:
And bonus, here is me getting my nails done in Japan where he also cleanses with alcohol before prepping my nails!
2. Not the right base gel for you .
Little known fact, nails are a lot like skin care! All nails aren’t created equally, which means all nails require different types of base coats ! Some nails are more flexible, some are more rigid, some are more flat, and some have body and a thick c-curve.

When it came to my clients and figuring out their nail chemistry I treated it like I was a hair stylist writing down their formula in their notes section. I would write down what base coat I used on them so I could reference it when they came back a few weeks later to see if it worked well or if we needed to change it up.
The best thing to remember with base coats is :
Weak/bendy nails need a flexible base coat. It might sound weird but it’s true because when someone’s nails are super flexible, putting a really HARD base coat or acrylic or hard gel on top can cause more lifting. Why? Because when you put something with no flex and bend on top of really flexy and bendy nails, the nails will not be able to support it and bend underneath it with regular daily life while the hard layer on top isn’t moving with it. So that weak nail underneath will be bending and moving causing lifting away from that hard layer and eventually cause a pop off! You want your base coat to help absorb the shock of daily life.

So some people might need a more softer base coat, while some can handle a little bit of a harder base coat! It's all about testing and experimenting. Let me guide you.
Here were the most universal base coats for all of my clients in my years in the salon that did wonders for growing their nails!
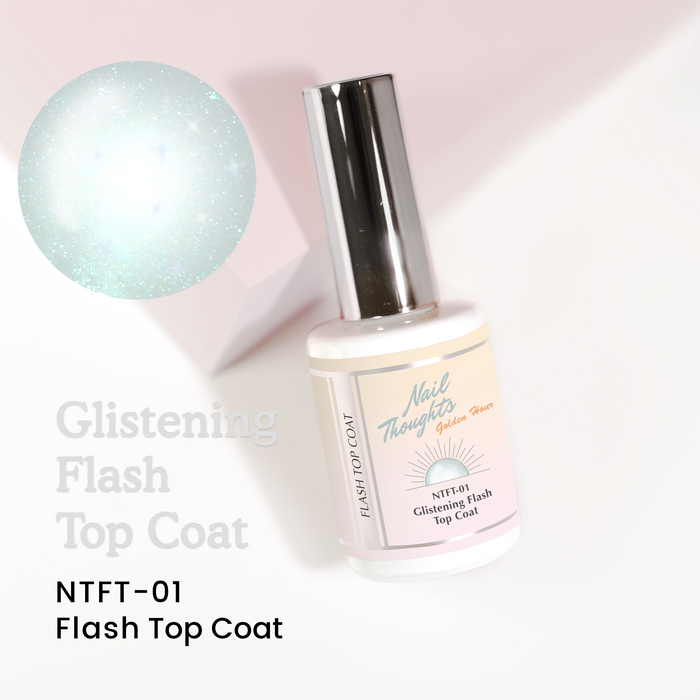
Nail Thoughts Clear builder base: This is a builder base coat. It’s a semi- hard gel which means it can be soaked off and has the strength you need to grow your nails long and strong with support, but has more flex than a true hard gel or acrylic, leaving you with a great universal base gel for most clients. It’s my top seller every month for a reason! Watch the way i use this here :
Nail Thoughts Tinted builder base gels: this is the same exact formula as my clear builder base but with a COLOR built it. So it’s a base coat , builder , AND a base coat all in one. So you can not only have the support of a builder base, but also skip the whole color step in the salon by going straight in with the base coat.
Here is a glimpse of me using a nail thoughts tinted base in a design on my client while also using it to build strength for her natural nails!
Kokoist Mega stick base : this is the PERFECT soft base coat for clients with super weak, damaged, and/or bendy nails. It’s not made for strength and support but made for overall amazing natural nail adhesion. I loved using this on my short nailed clients that weren't necessarily trying to grow their nails long.
ULTIMATE COMBO: for clients looking to hopefully grow their flexible natural nails longer and stronger , the most popular combo i would do to get their nails on track would be one thin coat of Kokoist mega stick base for a nice flexible adhesion, then building with either nail thoughts clear builder base or a nail thoughts tinted base on top for support as they grow to prevent breakage! This combo is VERY popular with professional nail techs and their clients.

3. Not curing properly
Making sure you and your clients nails are being cured properly in the lamp is key to long wear. There are two types of lights that cure gels, LED and UV. LED cured gel needs to be cured straight down. Meaning the light needs to hit the gel straight on to cure properly. So if the thumb is placed sideways in and LED lamp, only the side facing upwards will cure. So you need to make sure to cure the thumb separately to make sure it lays flat in the lamp. LED lamps tend to cure quicker than UV lamps.

On the other hand, UV lamps can cure all around the nail with reflections and less of a need for the thumbs to be flat. UV lamps tend to have mirrored floors for that reason, the nails can cure with the light inside reflecting from the floor of the lamp. I personally still like to cure the thumbs separately sometimes just for good measure, but no matter what, a proper and quality curing lamp is KEY to making sure your gel manicure lasts.

My top recommendation for an all around good gel cure is this HYBRID UV/LED Kokoist Le blanc lamp. You get the magic of BOTH types of cures to help prevent curing anxiety! The floor of the lamp also has raised spots to let your client know where to perfectly place their fingers. And the lamp also has legs to lift the lamp up at an angle in case you want to cure your clients’ thumb separately and easily !
 And that's all I have for you for this blog, but if you want to learn even more possible mistakes you might be making in your gel manicure, check out this blog post next all about the top 5 gel mistakes you might be making!