
· By katie masters
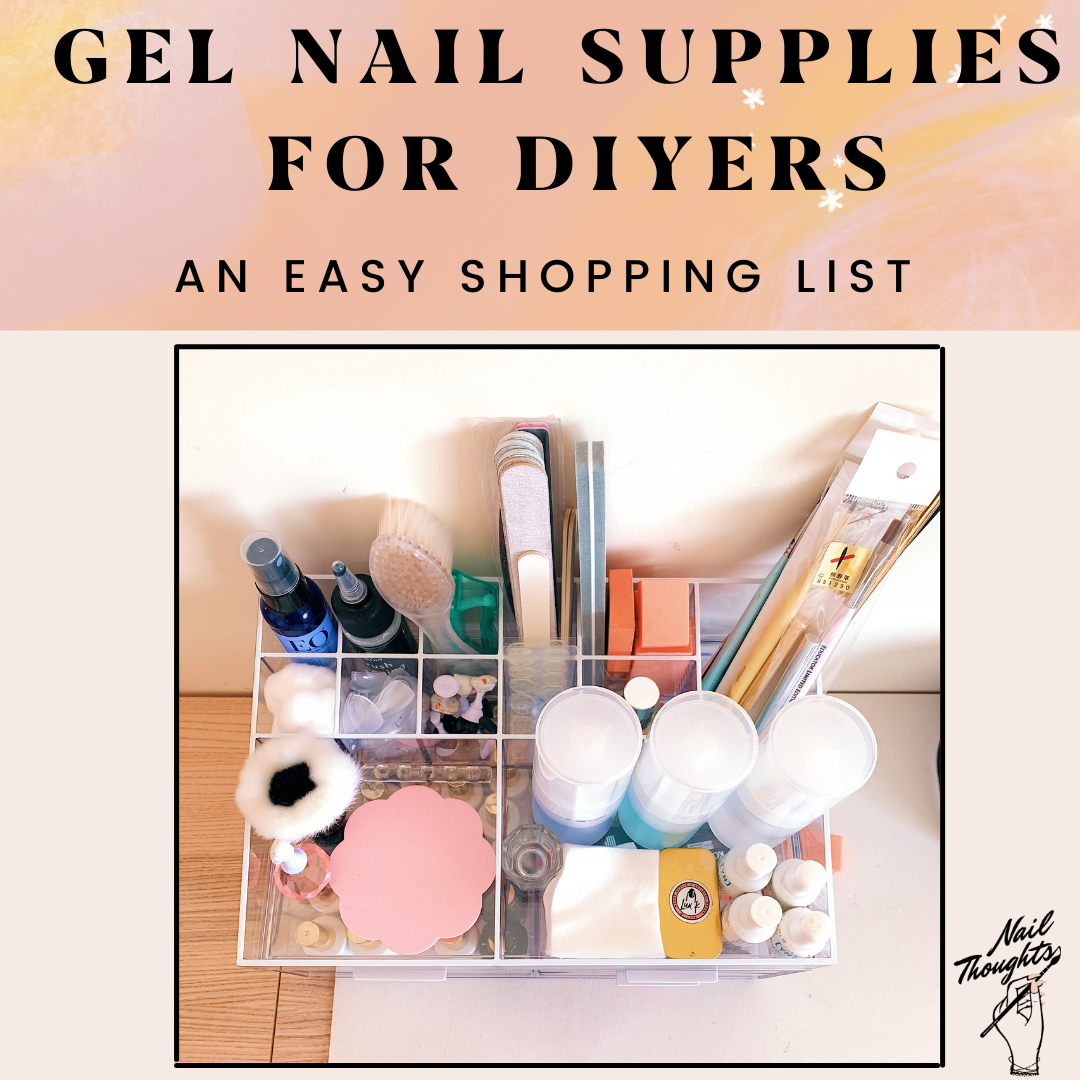
GEL NAIL TECH KIT SUPPLIES FOR DIYers
Please note that this article contains affiliate links, and that means that I may earn a commission if you buy something.
If you don’t know me yet, I am Katie Masters aka Nail Thoughts on Instagram and I have been a nail technician for about 6 years now and I have been loving organizing all of my gel stuff lately, ESPECIALLY my at-home nail office/ nail station!
I am such a crafty person myself. And I know from personal experience that when you're trying to learn something new, there is nothing more aggravating than when you think you have every supply and you’re in the middle of the process and you don’t have the most important thing. The worst!
So let me just help you out here to help prevent that!! So this blog is for all of you at home DIYers, beginning nail techs, or even seasoned nail techs! I ~will~ say this blog is a little more geared towards my at-home DIYer babies out there, but ALL ARE WELCOME!
I am going to try to keep things SIMPLE. I'm talking GEL BASICS. You are about to get the same talk that I gave my best friend who doesn’t do nails professionally at all but who is currently building her at-home nail collection cause she wants to get better at her own gel nails for funsies. I am going to list items and explain the reason you need them, or if they're optional!
Trust me, you don't have to break your bank account to create the professional look you're after! The best kits don't have to be expensive. They just have to contain the nail essentials you can grab and go to create your nail art. And sometimes the pre-packaged gel polish kits don’t truly suffice!
If you want to find out ALL the tools you'll need to build your beginner nail tech kit and be an insider on professionals' tips, keep on reading 'till the end!
TL;DR...
I curated all of the necessary supplies (minus the gel) you need for your at-home nail kit in my Amazon store HERE.
And heads up! If you want to get even more in depth and knowledgeable on why your gel manicures are lifting, chipping, etc. here is a great online class dedicated to you!
*If you are a nail tech and are curious about what I use in the salon, this link will take you to the blog you need to read!
*If you are interested in how I organize all of my nail supplies at home and in the salon, here is just the blog for you.
*And if you are a DIYer or even a beginning nail tech, here is a great blog on the top 5 gel mistakes I see people make with their manicure and how to fix them!✅ Beginner Nail Kit Must-Haves for Gel Nails:
Cotton
Cotton is one of the nail supplies that people tend to overlook.
It may look like you have all the nail products you need, but without cotton to soak off your gel nails, you'll definitely find it hard to soak them off. Always make sure you've got a handy pack of cotton balls in your stock so you won't have to stop in the middle of a nail session to look for one. If you don't want to soak off your nails and are planning to electric file off your gel, here is a great blog post I wrote about best gel removal and cuticle bits for beginners!
Lint-Free Nail Wipes
Why do you need this if you have cotton? These lint-free wipes are used to cleanse the nail with a cleanser before application (if you used cotton, it would leave lint and fuzz and not be a fun time for you).
These are also used to wipe the sticky layer off of the gel top coat when you are done (again, cotton just leaves too much lint behind and gets caught in things).
Imagine beautiful nail art with lint on them! If you don't want this problem, make sure you stock pile a decent amount of lint-free nail wipes at home! I promise you it’s worth it.
Gel Removal Nail Clips
No more wrapping your fingers in foil when you are soaking your gel off! It’s too much waste, and honestly annoying!? Right? I'm sure it's not just me!
Gel removal clips are reusable and frankly, SO much easier than foil, especially on yourself. Just get your acetone-soaked cotton ball, sit it on top of your nails, and clamp down the clips!
These COULD be optional if you are filing your gel off with an electric file…but even if I have a client come in and one nail is super lifted, I use these clips to soak it off. It’s worth it to just soak off that nail instead of trying to e-file away the lifting and risk hurting the nail. Gel removal clips are great for removing gel polish from your toes, too.
Highly recommend it to all you DIYers out there, if you want a full set of convenient tools for your nail kit!

Acetone
Acetone is another nail care tool you'll need for your manicure and have ready to grab in your kit.
Remember: don't grab the nail polish remover. Make sure you get acetone! It works way better and faster than drug store nail polish remover for gel polish soak off. You'll need a bottle of it ready when you're soaking off gel nails.
Alcohol/Nail Cleanser
You'll need alcohol or nail cleanser to cleanse the nail as the final step before you apply your gel or polish. Most nail cleansers from big nail brands are literally just alcohol mixed with acetone and some color dye like blue and sometimes a scent. These ingredients can sometimes mess with adhesion a little.
To save yourself from overspending on a fancy nail cleanser, we are going to make things easy and make our own. All you need for your nail kit is 90% (or more) Isopropyl alcohol and pure acetone. Mix in your 25% acetone and 75% alcohol and VOILA! Use this to cleanse the nail before the application!
Your gel manicure will thank you when you take the time to properly cleanse them!
Nail Brush
Speaking of cleansing the nail, I personally use a nail brush to cleanse my nails before base coat application. While this could be an optional tool, it's crucial to one of my nail care tips: a good gel manicure or pedicure starts with nice, clean nails! If you don’t cleanse the nail well enough and if you leave dust and oil on the nail bed, your gel won’t properly adhere!
Some professionals opt to use lint-free wipes to clean the nails, so it's really up to you if you want to purchase this for your kit! So let's consider this one optional for you if you are planning to just use your lint free wipes.
I will say, it IS nice to use a brush to get the dust off from gel removal or nail filing. I get a nice scrub in there! No dust is ever left behind.

Nail Cuticle Pusher
If you want to take your gel manicure or pedicure to the next level, you'll need a cuticle pusher. You have to push that skin back to help expose the cuticle and dead skin and make a nice and even cuticle area for application.
I know it doesn't seeeeem like a necessity but, if you are planning on using a cuticle bit, you're going to need to have something to push the skin back so you aren't filing over your live skin! Plus it will help your gel manicure application go up higher on the cuticle area (this means it won't look as grown out as fast the higher you are able to apply the gel)!
Nail Files
Nail files are a must in any starter kit for budding nail enthusiasts. It's a tool used to shape the nails to get the look that you want, and it takes off the natural shine of the nails (which is crucial for gel manicure prep work).
Listen, you can also use this tool as a substitute for a cuticle pusher, as you can gently file and buff away the cuticle away from the nail.
I personally like to use the traditional emery board with 180/240 grit.
Files are a must, you need to use it to give your nails the shape that you want, buff the surface of the nail, and use it to remove the shine from the gel when it comes time to soak off the gel.
Sponge Buffer
A sponge buffer is definitely on the list of essential tools in your starter kit. Why? Because it does what a nail file can't: buff away the tiny pokes and spots left on the nail to get that clean, smooth base. It’s the step I do right after I buff the shine out of the natural nail with my nail file.
It’s key in my nail routine to do that final buff to smooth everything out and go over the nail one last time to really make sure I was thorough with my gel manicure prepwork.
I promise you all of the nail prepping and buffing pays off when you put on your basecoat to reveal a smooth professional manicured nail with no lumps or pokes, perfectly prepped by you. You can watch what I mean by this in a lot of my YouTube videos!
Liquid Pump Dispenser
These might sound optional for a beginner and or even professional nail kit, but having liquid pump dispensers is truly a game-changer for such a cheap price!
You don't have to carry heavy and big bottles of products when you can just put what you need in these pump dispensers. These plastic bottles can house your cleanser mixture, acetone, alcohol. Gel manicures take a long time, especially on yourself, and it can get awkward REAL quick when you have one hand halfway done and the other hand needs to reach for cleanser. The last thing you want to do is risk tipping over a giant bottle of cleanser and having it spill all over your unfinished gel manicure because you overflowed the wipe. Trust me on this, it's really a life saver.

Gel Curing Lamp
As a newbie to the nail world, your budget might not be as big as a professional nail tech. But that doesn't mean you can't achieve great-looking and long lasting gel nails!
A gel curing lamp can do everything from curing a gel polish manicure to a gel nail extension.
You can get this affordable gel curing lamp, which is a great addition to your beginner nail kit. This curing lamp is suitable for minimal usage once every few weeks and turns your home manicures into salon-worthy nails without the hefty price!
For professional use, don't hesitate to invest in a high-quality gel curing lamp. I personally don't mess around when it comes to my paying clients. You won't have to worry much about the quality of your clients' gel nails when you have a dependable tool at your side!Electric Nail File
An electric file can remove cuticles and gel nails. But they do tend to start towards the higher end of the price. This one is an optional tool for beginners, but it's a great add-on to your gel nail kits.
If you're interested in honing your craft and learning all things nails, investing in an electric file now can help you save money in the future. This electric file is a great addition to your starter kit. It works well but is not as expensive as the ones professionals use.
If you're a nail tech, you should consider investing in a more high-end electric file for your nail kit. This e-file is rechargeable, easy to carry, and high-powered, which is great for home-service clients.
Electric File Bits
If you're getting an e-file, you're going to need some drill bits in your gel or acrylic nail kit. These are for nail product removal, refining, and cuticle removal. If you're unsure which ones to get, I wrote a separate blog post about the pros and cons of different cuticle and gel removal drill bits, which can be found here!
Gel Nail Base Coat
Yes, you need a base coat! Gel isn’t like regular nail polish!
I collaborated with the gel nail brand Kokoist to create really beautiful tinted base coats that are actually a color AND base coat in one. It saves so much time in the salon because you can apply it and then put a top coat right on top and skip two extra layers of color! My best friend (DIY gel girl) loves these bases because sometimes it just takes way too long to prep the nails that she can't bear doing any extra work. 9/10 she will reach for a tinted base gel to save her the time of another color application, puts top coat on, and she's done!
These are all very neutral colors and slightly sheer depending on the thickness of your application, which is great especially for the DIYers out there because they hide your mistakes very well ;).
SO great for toes as well so you don’t have to bend over for too long! Here they are, make sure you get some for your beginner nail kit!
Anything on the Kokoist website you can always use the code NT10 to save yourself a little money too. Below is a picture of Strawberry Milk Base.
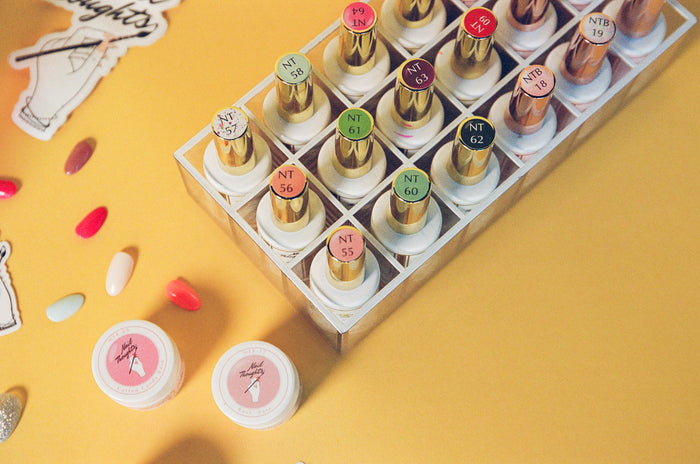
Gel Nail Color
What nail kit is complete without your favorite gel colors?
There are soooo many different kinds of gel in the market right now, but you'll want to get gel colors that can last you for a long time and aren't going to dry up or chip on you quickly. My gel brand is all handmade in Japan and it is pure gel. All pure gel means is that it is NOT a hybrid of gel and nail polish. Pure gel has no scent (because there is no nail polish solvent present), and has amazing one coverage pigment. Here are the gel colors from the Nail Thoughts collection. Have fun browsing!
You don't have to get one if you opt for the tinted gel base coat for your starter kit. But if you're interested in building your gel color collection stock, head over to this Pinterest board to see swatches of the gel colors from the Nail Thoughts collection, or check out my Instagram for nail inspiration through this link!

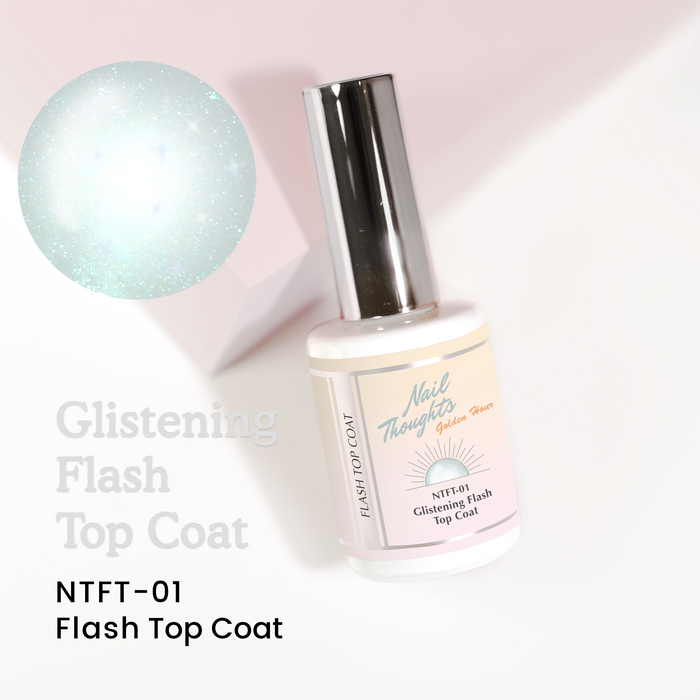
Nail Gel Top Coat
Here is a video of me doing my own nails with my gel and tons of tips and tricks and info for you to follow!
Final Nail Tips
If you want to get even more in depth and knowledgeable on why your gel manicures are lifting, chipping, etc. here is a great online class dedicated to you!
The first step in learning how to do your own nails, whether with gel, acrylic, or even regular polish, is having the right equipment.
I made things easy for you and curated some of the supplies I went over today and other affordable stuff in my amazon shop for you so you don’t have to search and guess which tools would be best for your kit.
www.amazon.com/shop/nailthoughts
All of the rest of the stuff is linked in each description of my list. Most of the rest of the stuff is from the Kokoist website so you don’t have to order from a trillion different places.
Hope this list of products and my tips help!
Disclosure: Links contain affiliates. When you buy through one of those links I will receive a commission. This is at no cost to you.
Love your product
Racquel Nedd-Kyei on
Thank you so much for taking the time and effort to make this!! Very helpful for first timers!
Dorina Bernard on
So helpful. What is the best black and white for doing details work? The kokoist pots? I am in England so shipping super expensive so want to make sure I get everything I need (including your collab ;) ) in one go! Thanks in advance XX
Holly Cheshire on
Thank you SO MUCH for putting the time to put this together! Your walkthrough of the product, not just listing it, has been so helpful 💌
Hanna on