
· By Kathy Hingan
HOW TO SIZE YOUR PRESS ON NAIL TIPS (for your press on business)
Please note that this article contains affiliate links, and that means that I may earn a commission if you buy something.
Using Press On Nail Tips
After so many nail salons were put on a temporary shut down, so many of us nail techs were basically thrown into the brainstorm panic of “how the hell am I supposed to make money if I can’t do people’s nails right now?” And press-on nail tips started to emerge like crazy from all of us nail techs all over the country.
But just because we are all nail techs, it didn’t mean this transition to press-on nail tips didn’t come with its fair share of confusion, stress, and complications.
If you don't know me yet, hi! My name is Katie Masters aka @nailthoughts on instagram. I am a nail tech who owns a private nail salon in Santa Monica, CA.
While shut down, I dove right into making press on nail tips, and in that 9 months or so of selling over 200 sets of press on nail tips, I had some time to work some of the nail tips kinks out and I am here to help shed some of the nail tips lessons so you don't have to learn the hard way like I did!
This was literally me-
“So wait, I just have my clients glue the nail tips on themselves? But what about cuticle prep work? But I don’t know their finger sizes!!! Wait…how am I supposed to ship these nail tips? What if these nail tips don’t work for people? What if they don’t do the nail tips RIGHT? What if the nail tips just fall off and they get mad at me?! MY REPUTATION IS GOING TO BE RUINED. I’VE NEVER DONE THIS BEFORE WHAT DO I DO?!”
I had no clue what I was doing and just jumped in head first making so many mistakes so I wanted to write a little series of blogs to help explain how I am doing the press on nail tips, to hopefully help answer all of the most common q’s I’ve gotten from all of you trying to dive into nail tips as well. And hopefully help so many of you fellow nail techs that ~also~ feel a little alone and lost in this nail tips market. THIS IS HARD TO DO, SO PLEASE BE PROUD OF YOURSELF.
In this first press-on nail tips blog post, I want to cover the most popular question-
HOW ARE YOU SIZING THE NAIL TIPS?
WHAT IF YOU DON’T KNOW THEIR SIZES?
✅ LET'S GO OVER THE TWO MAIN OPTIONS (PROS & CONS)✅
FIRST OPTION- Alright from what I’ve seen in the hand painted press-on nail tips world, most people are having clients send in their nail tips measurements. Here is a great video example from my friend Kia on how she is having her clients size their nails. https://www.instagram.com/p/CARLDCAp5r1/
Then once they have their nail measurements, they send you, the nail tech, their numbers and you translate them to your nail tips! Paint all the custom designs they want, and send em off!
PROS OF OPTION ONE
- You only have to do 10 nail tips, and you can rid yourself of the stress of worrying if the nails you sent fit them since you based those nail tips off on the measurements they sent you.
- It’s so much less work and way less materials used than if you sent a ton of nail tips sizes with designs to them.
- You can make sure and put art on the specific fingers they want and make the nail tips more custom like with accent fingers etc.
CONS OF OPTION ONE:
- Someone WILL measure their nails wrong. I mean let me tell you, the amount of time I have tried to order a ring online and followed all of the proper ways to size your finger and STILL got a ring too big is beyond me at this point. Anywho, so if any of your clients are like me, that will definitely happen. It truly isn’t the end of the world, but worst case is you have to have them measure that one finger again and redo that nail tip, or have them file it down if it’s larger than their nail, OR have a policy in place that says basically “it’s not my responsibility if you measure nails wrong” and wipe your hands of it. Either way, I’m sure it would break your heart if they got their set and it didn’t work out, and then fixing the situation could distract you from more nail tips sets you could be doing.
- Another con is that you might be overwhelmed with keeping track of people’s numbers if you get bombarded with inquiries and asks to create custom nail tips design. Be prepared to get organized! Get your copy paste measurement instructions on deck!
- It might be a little stressful getting back to people in a decent amount of time, WHILE you are working on a different set of nail tips as well. You’ll have your hands full if things get busy!
- If a nail comes off and they couldn't keep track of it and it gets lost, there are no extra nail tips for them to slap on! Once one nail gets lost, the reusable factor is pretty much over :(
- And finally, it's going to be so much harder to keep track of inventory with this way. If you are planning to do a bunch of sets, the most frustrating part is going to be running out of specific sizes before all of the rest and having to re order only specific refills, etc. etc. You might think you will be all set to take some more orders and then when you get their measurements realize you are a couple sizes short and have to stall on painting to reorder only certain sizes. Your inventory might be pretty scattered, and feeling disorganized/ not knowing what you might run out of can be stressful.
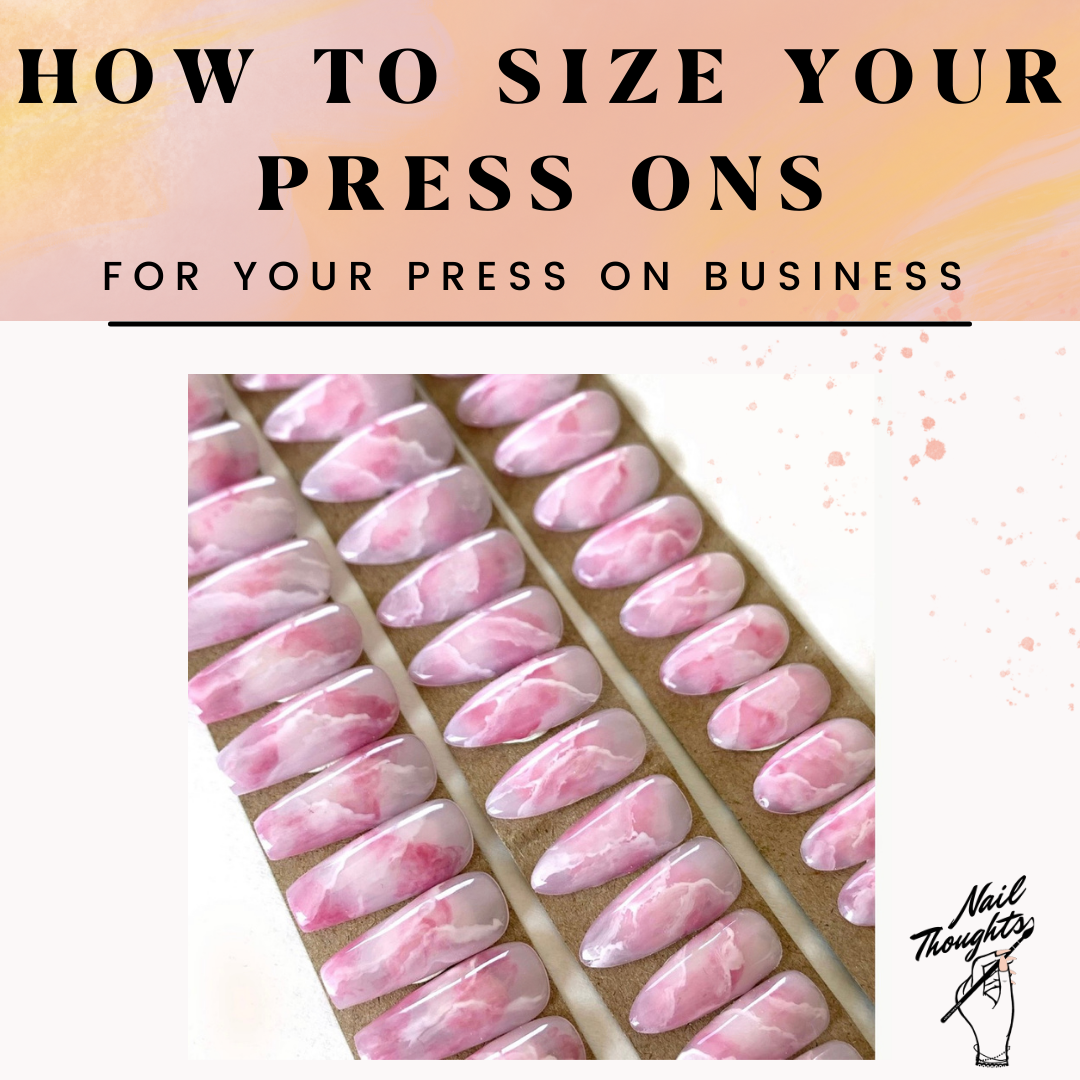
SECOND OPTION- Here is what I decided to do! I am sending each client/customer 22 nail tips of the design they ordered. Here are the sizes I am sending, KEEP IN MIND, I am using the Kokoist Gelip nail tips. So if you are using the Apres tips, note that the popular nail tips sizes might be slightly different than my popular nail tips sizes due to difference of brand.
Size 1 (two of them)
Size 2 (two of them)
Size 3 (two of them)
Size 4 (two of them)
Size 5 (two of them)
Size 6 (four of them)
Size 7 (four of them)
Size 8 (two of them)
Size 9 (two of them)
I stopped sending size zero’s and added more of the smaller popular sizes like 6 and 7! All they have to do is add to cart and I ship it!
PROS OF OPTION TWO
- You can do a nail tips set and literally forget about the nail tips. No more stress about what if the nail tips don’t fit, or wrong measurements. You have covered all bases. If one doesn’t fit, they have 21 extra nail tips possibilities . This is great for my fellow anxious tech’s that lose sleep worrying about every little thing like I do.
- This way is amazing for doing nail tips designs in bulk. Just stock up on different shaped nail tips and do the same quick design over and over and over again and build up your nail tips inventory without waiting for anyone else! My usual monthly press on nail tips launches would be about 60 full sets of nail tips per launch!
- People are more inclined to purchase the nail tips! A ton of people really hate to do work when they buy something (me included, if I have to measure my finger again for a ring I like online, I say ta-ta! I guess I don't need it!) We love convenience and sometimes if people have to work too hard for it, they might get turned off. I literally hate CALLING places to make an appointment because I just don’t want to talk to anyone and just want to just silently make appointments online or add to cart on my own time with no further conversation like a little introverted hermit. Think about people that go to Target and buy press on nail tips, boom, done. Those press on nail tips boxes at these stores average between 22-24 nail tips! BUT there are also people who love to participate in the purchasing process as well! It all depends on your ideal client! But if you are looking to have quick, easy transactions for you and client, option 2 might for you. All they have to do is add to cart and I ship it.
- I definitely recommend this way if you want a little more control! Here is what I mean, if you are stressed about people exploding your inboxes with numbers, all different types of custom design requests you might not be able to do, etc. then don’t open yourself up to that and just select a handful of your most popular designs and make those! Make a bunch of that same nail tips design in different shapes and lengths and put those up for grabs on your site, instagram, etc.! It relieves you of new clients messaging with designs you may not be the best at etc. and protects yourself from a huge overflow of stress. Personally I knew my inbox would explode and I would never be able to see the bottom. I am an absolute control freak which is why I chose to do this way. Boundaries!!! We are working on it and doing well!
CONS OF OPTION TWO:
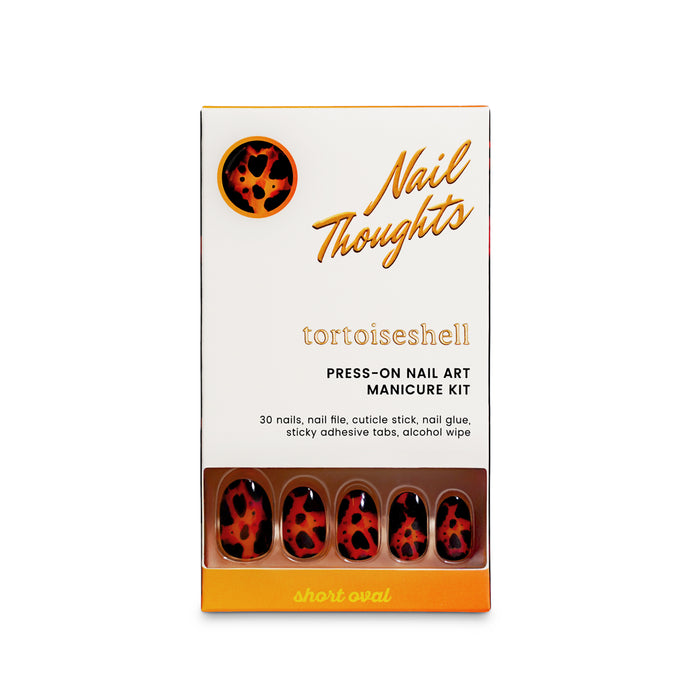
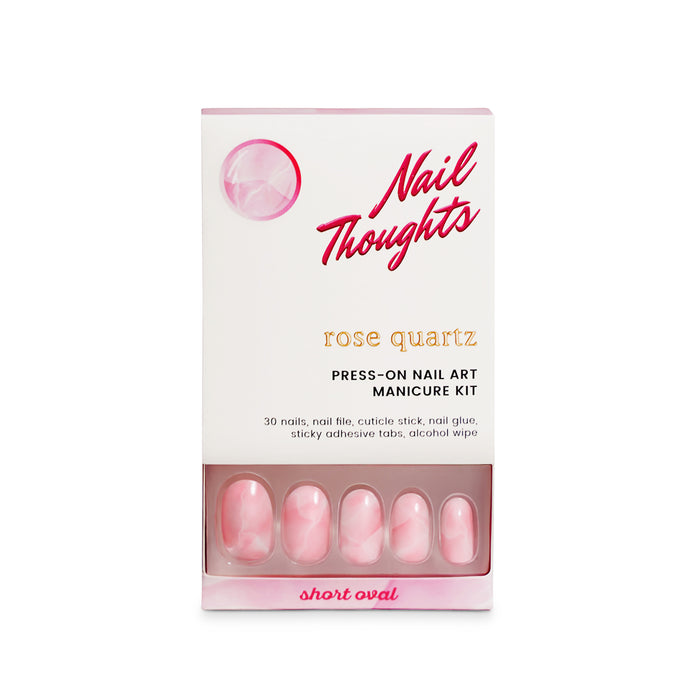
- You really can’t do different accents on certain nail tips. Things get confusing when you want to try to give them accent nail tips because if you think about it, if they want something different on their ring finger, how will you know which size to put it on without their measurements? You sorta have to stick with the same design on each finger. Doesn’t mean you can’t still get abstract with the nail tips though! I mean my rose quartz lines look different on every finger and go in all different angles, but they all still go well together as a set!
- Another con is obviously you are doing double the work AND more materials used. So I have been sticking with designs I know like the back of my hand and after just two nail tips launches, I had a whole system down and could whip out a rose quartz set of 22 nails in about 45 minutes! So I definitely recommend a design on the more simpler side if you are trying to make them in bulk like me!
SOME OTHER INFORMATION ON NAIL TIPS(LENGTHS, PRICING TIPS, ETC)
Nail Tips
The nail tips I am using are the Kokoist Gelip tips. They are thin and look almost exactly like a natural nail. Also anything you buy on the Kokoist website you can use my code NT10 to get 10% off.
When I did my first nail tips launch, I launched with all the different nail tips sizes ranging from oval short, to medium almond, to coffin long. The first thing I noticed was how fast all of the “short” length nail tips set were gone. I put “short” in quotes because technically these nail tips are for nail extensions, so they are truly not short.
The last one to sell was the long coffin nail tips. Then I asked my audience what nail tips shapes they like the most and I had an overwhelming response of “short!” “can you make shorter than the shortest size you have?” and “I need short so I can still type at work.” So my last two launches I decided to get rid of the generally thinner and longer nail tips sizes and only focus on oval short and almond short nail tips. Which in the end makes my life so much easier because I don’t have to worry about building up stock in four other lengths on top of the two short ones I’m focusing on.
Be sure to ask your audience what lengths and shapes they want and really focus there so you can be sure to bring them exactly what they want so they are ready to throw their money at you.
If you are going to go my route (ROUTE 2) nail tips wise, here are some good tidbits of info:
- You are going to want to buy the gelip tip boxes of the shapes and lengths you want.
- In each of those boxes you will get 30 pieces of EACH SIZE which means each box is 15 full sets. But remember! We do double the size 6 and 7. So make sure and buy one pack of the Refill Pack of both sizes 6 and 7 each in the shape you buy in ADDITION to each box you get. Each refill pack comes with 30 pieces which works out perfectly!
You can find all of that HERE.
Example- If I am going to make 30 more oval short press on nail tips sets, my cart will look like this:
2 Oval Short Gelip boxes
2 Oval Short Refill pack size 6
2 Oval Short Refill pack size 7
PRICING NAIL TIPS SETS
You get 10% off of any Kokoist order if you use NT10 at check out, so with that discount each single nail tip in the box/ refill pack is worth $.08.
- Multiply that by 22 nails and each set of nails using my way (route 2) will cost you $1.76.
- Multiply that by 10 nails by using the measurement way (route 1) will cost you $.80.
It is all up to you! And I really hope this nail tips blog helps you even just a tad bit with navigating this whole press-on nail tips world. I definitely don’t know everything, but this is from my experience and I hope it sheds some light. Blah I really love you all so much. And honestly I'm in such awe of how so many of you were so amazingly graceful and quick to dive into a whole other business venture when you were shut down. We need to just take a moment and acknowledge how resilient we all are. I SEE YOU.
19 comments
-
Thank you so much for this! You truly explained every question I had! I can’t wait for me myself continue on with my nail journey as I want to make press ons but be a gelX nail tech as well! <33
Melissa H. on
-
This was super helpful… Thank you for the info I would definitely start using the techniques to apply.
Carleen Chang on
-
I have been trying to do research about this and this article was amazing! It answered every question I had and I am very great full for your insight!
Diana Nerad on
-
Thank you so very much! You really helped me a lot since I was very confused about the measurements and I was thinking of that customers will measure wrong and what problems I would face in that situation, really thank you 🙏🏻
Alexandra on
-
I swear it’s like I wrote this. This helped so much, like you I was very confused didn’t know where to start, if I wanted to paint all 22 or set kits… it was driving me nuts and I felt like I was stuck. So thank you
Melissa on
-
I swear it’s like I wrote this. This helped so much, like you I was very confused didn’t know where to start, if I wanted to paint all 22 or set kits… it was driving me nuts and I felt like I was stuck. So thank you
Melissa on


