

· By katie masters
How to Make Your Press-Ons Last Longer: Expert Guide
Written by me, Katie Masters, never AI
If you are new to wearing press on nails or even a seasoned press on veteran, you have definitely experienced the dreaded press on nail pop off at some point. So as a professional nail tech of over 10 years, I’m here to break down some of the most common reasons your press on nails pop off and how to make them last two+ weeks!

Pictured: Nail Thoughts Press On Survival Guide Free Download
My name is Katie Masters and I am the owner of Nail Thoughts and a professional nail tech of over 10 years. I have done press ons for Lady Gaga, Nicole Kidman, and Michelle Pfeiffer. I also wear them! And with all that expertise, I am here to outline three common press on mistakes and how to get your press ons to LAST with minimal pop offs. Let's dive in!

Pictured: My press ons I made for Michelle Pfeiffer for Margo's Got Money Troubles
Mistake number 1: Improper prepwork
Improper prep work is most likely the main reason why your press ons aren’t lasting as long as you want them to! You might see that term “prepwork” all the time and not know what it means so let me break it down for you. Prep work is simply all of the steps you take before applying your press on nails. Think things like buffing the nails, pushing cuticles back, cleansing the nail with alcohol etc. Those all might seem like optional steps, but trust me, they are there for a reason and I want to tell you why they are steps so you can fully understand.

Buffing your nails: If you don’t buff your nails, you are going to end up applying your press ons on top of a smooth and shiny surface. And something about nail glue and about those double sided sticky tapes, is they hate a smooth and shiny surface! The nail glue and tapes need some grit to latch on to. Think of it like velcro. Velcro doesn’t stick to a smooth surface, it sticks to a more gritty surface. Press on glue and tape need the same thing to have their best adhesion.

Each press on nail kit comes with a mini nail file with a good gentle texture for your natural nails. Gently buffing the shine out of the natural nails is actually the same step that nail techs do before they apply any gel manicure or nail enhancement on the nail for the same reason! Buffing the nails is nothing to be scared of either, you are simply buffing the shine out of the very surface layer of the nail.
Something to also pay attention to with the nail file, is you can use it to buff away and dead skin aka cuticle on your natural nail. Cuticle grows on to your nails, so using that file as a little cuticle push and exfoliator is going to do WONDERS for your press on nails adhesion. If you can buff away most of the dead and dry skin off of your nail plate, the nail glue (or press-on tape) will be adhering to the nail itself instead of your dead cuticle skin. If it adheres to your dead skin, it’s much more quick to lift in that area. And we all know how annoying it is to wash your hair with a lifted nail.

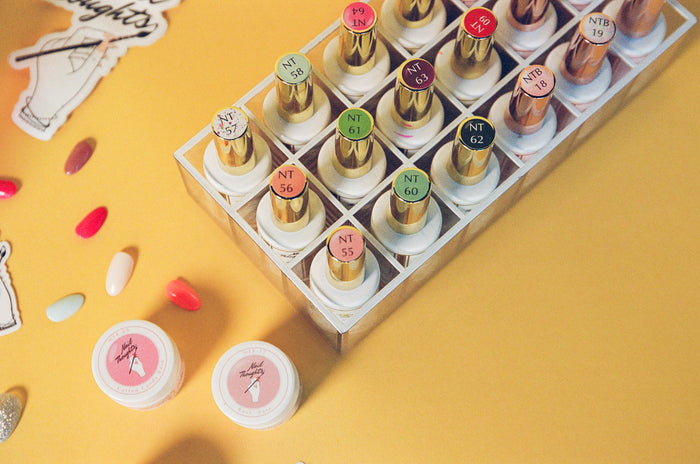
Cleansing the nails: Always make sure and wipe your nail with the included alcohol wipe in your kit! Our nails have so many invisible oils from our skin care, our hair, and just our natural oil that we produce! When you leave all of those oils (and leftover dust from buffing the nails) on your nails, you are messing with the adhesion of the glue. Leftover dust on the nail will create little air pockets and bubbles. Leftover oils will have almost a subtle repelling effect to the glue. Again, glue does not like smooth and shiny surfaces, and it also doesn’t like an oily dirty surface. The Nail Thoughts press on nail kits come with a mini alcohol wipe in each kit.
Mistake number 2: Gluing the nail on your skin
You know how I said glue hates smooth surfaces, and dirty surfaces? Well another thing nail glue hates, is being glued on your fingers and not your nail! Just because it sounds super obvious to not glue your press on to your finger, doesn’t mean it won’t sneak up on you. All it takes is just one little corner or sidewall of the press on to be barely glued on to your finger for it be much easier to lift and pop off. Really pay attention when you are sizing your nails and look at both side walls of your nail to make sure the tip is only touching your nail and not the skin. Because once you glue your nail on and the nail tip is glued to your skin, that nail is already lifted. And once your nail is already lifted, it’s like the loose thread in your sweater, it’s just going to keep lifting little by little and pop off.

Mistake number 3: Using the wrong sizes.
Sizing your nails is most important because if you use the wrong size, you are going to possibly create more opportunity for nail pop offs. If you size your nails too small, the press ons will be tight on your nails which will pull the glue and constantly put tension on it and cause it to pop off sooner. If you pick sizes that are too big, you risk the sidewalls of the press ons being accidentally glued to your fingers which as we covered above, is going to immediately cause lifting of the press ons! So don’t be afraid to customize each nail to your perfect fit to prevent either of those from happening.

And to dive even deeper and give you so many extra tips and tricks on press on nail application, i wrote this free 8 page download on how to make sure your prep work is PRISTINE every time! And as usual, the document (and this blog) was written by me, NEVER AI. So you can trust it’s my expertise and experience as a decade long nail tech.